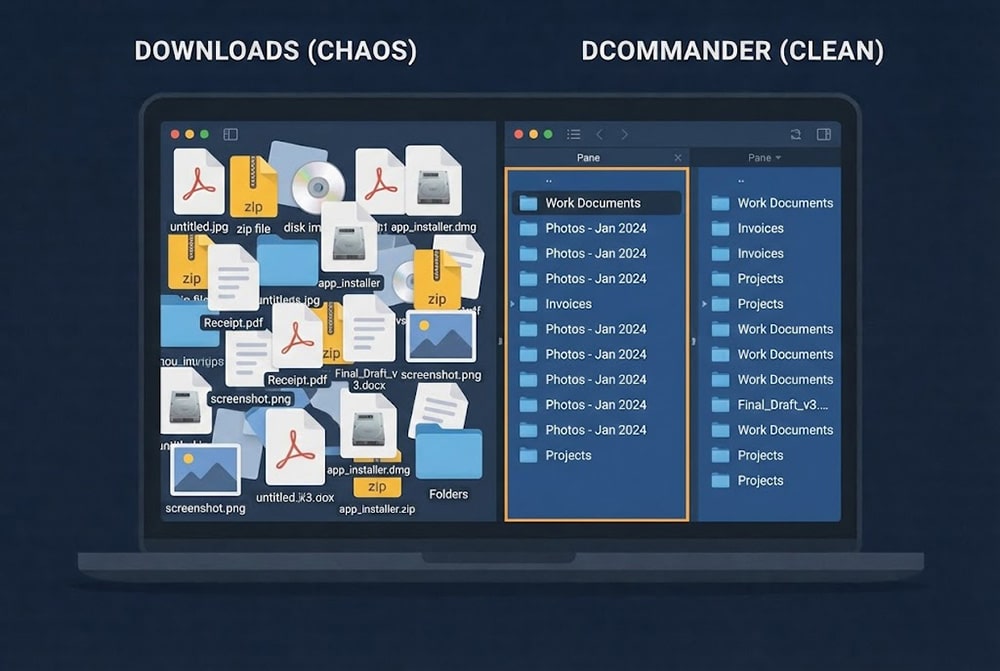
For most users, the attempt to organize downloads folder mac storage is a constant battle…
Byte by Byte Copy on Mac: 2 Ways to Perform a Safe File Transfers
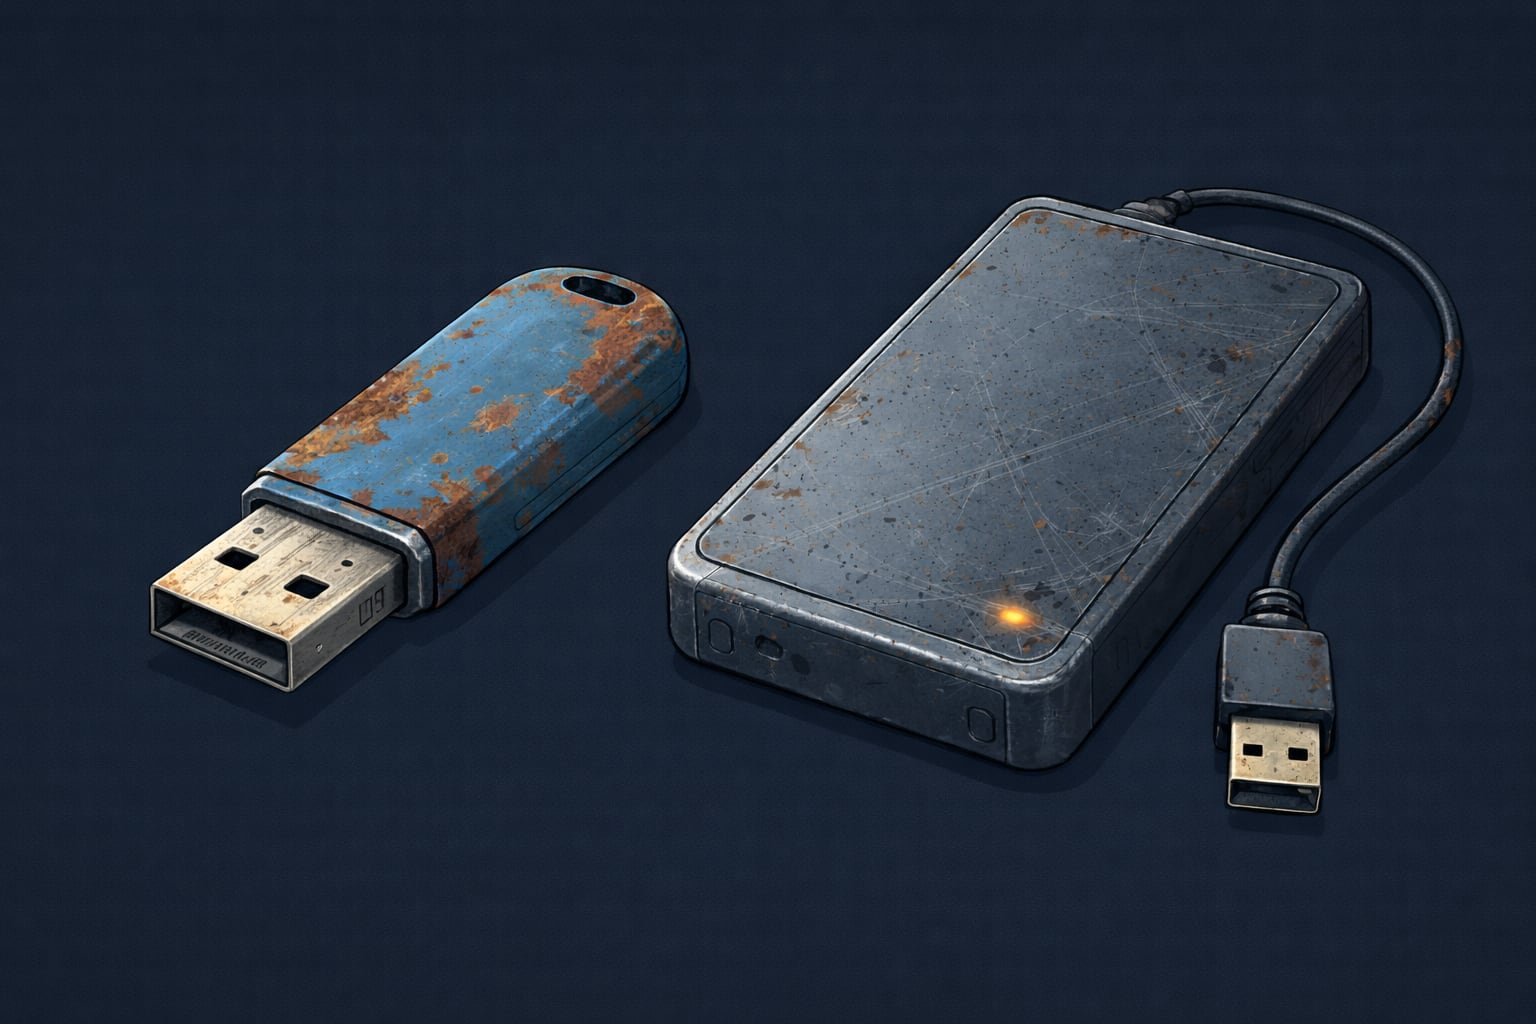
Why use byte by byte copy on mac? Because you try to drag a folder to an old USB stick or a failing external hard drive, and the Finder progress bar freezes. The copy stops, the spinning beachball appears, and eventually, you get the dreaded “Error -36” or the drive unmounts itself. This happens because modern macOS copy methods prioritize speed, filling the target drive’s buffer faster than it can write. The solution is the byte by byte copy on mac method: a slower, more deliberate transfer style that respects the limits of unreliable hardware. We’ll look at two ways to perform this robust copy so you can salvage your data or utilize legacy drives.
Table of Contents
Why Finder Fails on Bad Drives
Finder uses asynchronous, buffered copying. It reads a massive chunk of data into RAM and shoots it at the drive controller. If the target drive is old, has bad sectors, or a weak controller (common in cheap USB sticks), it gets overwhelmed and stops responding. A byte by byte copy on mac process reduces the buffer size, sending data in small, manageable “sips” rather than a firehose, preventing the hardware from choking.
How to copy safely using Terminal?
For a robust transfer that can handle interruptions, the command line offers rsync. While not strictly a low-level “byte copy” tool like dd (which is dangerous for files), rsync verifies transfers and controls bandwidth better than cp. Launch Terminal from the Applications folder, then type:
rsync --partial --progress --bwlimit=1000 /path/to/source /path/to/destinationBreakdown of the command:
- rsync: The tool for remote (and local) sync.
- –partial: Keeps partially transferred files if the connection drops, so you don’t restart from zero.
- –progress: Shows a progress bar.
- –bwlimit=1000: (Optional) Limits speed to 1000KB/s, which can help prevent overheating a failing drive.
Limitations:
rsync is powerful but complex. It doesn’t natively offer a “pause” button (you have to kill the process), and typing long paths for every file recovery session is tedious and error-prone.
How to perform a byte-by-byte copy using DCommander?
A much easier way to perform a byte by byte copy mac operation is to use DCommander. Unlike Finder, DCommander includes a dedicated “Alternative Copy Method” specifically designed for legacy devices and unreliable connections. It allows you to manually lower the buffer size, ensuring the drive stays responsive.
First, download and run DCommander.
- Open Preferences: Go to DCommander > Preferences (⌘,).
- Navigate to Operations: Click the Operation tab and select Copy / Delete.
- Enable Byte-by-Byte: Uncheck the “Use standard copy method (recommended)” to enable Byte-by-byte copy.
- Adjust Buffer: Set the buffer size. For a failing or very old USB 2.0 drive, set it to 4KB or 32KB. For a healthy drive, 1MB is fine.
- Transfer: Close preferences and copy your files using F5.


Why this saves your transfer:
- Controller Breathing Room: By sending small chunks (e.g., 4KB) at a time, DCommander waits for the drive to confirm the write before sending the next chunk. This prevents the “traffic jam” that freezes Finder.
- Visual Feedback: You see exactly which file is being written and at what speed, so you know if the drive is stalling.
Tips for recovering data from bad drives
When using a byte by byte copy mac workflow on a dying drive, follow these rules:
- Cool it down: Failing drives overheat. Point a desk fan at the drive during the transfer.
- Small Batches: Don’t queue 1TB at once. Copy essential folders one by one.
- One Way Only: Copy from the bad drive to a good drive. Never write to a failing drive.
- Verify: After the copy, compare the file sizes or use checksums (available in DCommander) to ensure the data is intact.
Conclusion
When hardware starts to fail, speed is your enemy. The default high-speed copy methods in macOS are often too aggressive for legacy or damaged devices. By switching to the byte by byte copy on mac method either via heavily throttled Terminal commands or the purpose-built setting in DCommander, you can successfully transfer files that would otherwise result in errors and frustration. It’s the safest way to rescue your data from the brink.
Related Posts