When you need to mirror folder mac data to an external drive, you are looking…
2 Easy Ways to Sync Files on Mac
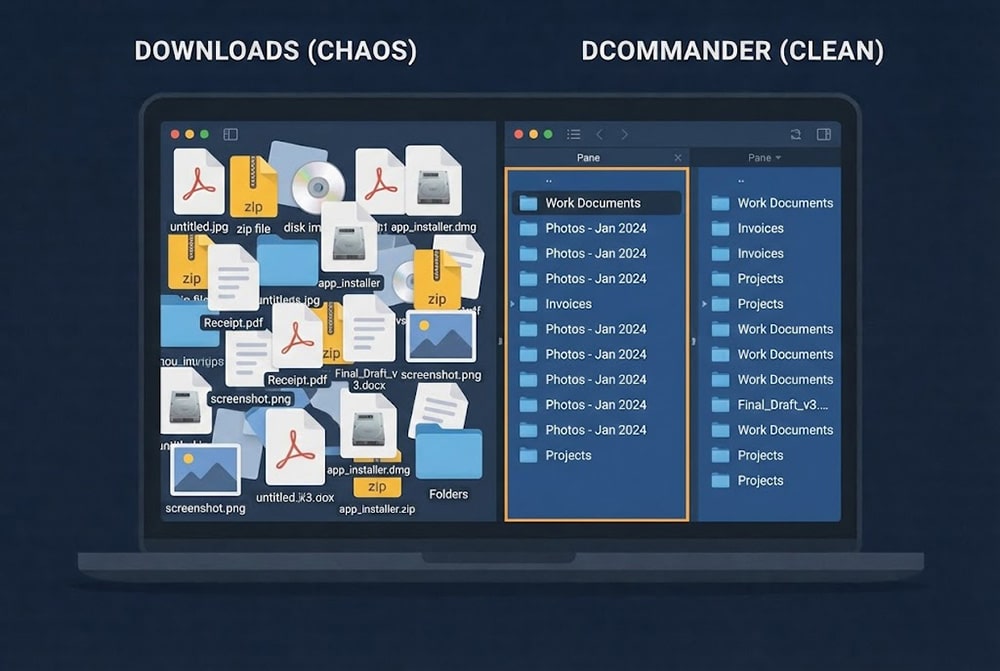
An often overlooked, but important task is to sync files on Mac. There are a number of use cases where you want to synchronize files and folders, with the most common being backups. Having an exact copy of a project before you make changes to it can prevent a lot of headaches. Having an exact copy of your photo album on an external drive is a life saver when your main drive crashes. Think of all the memories that can be lost without having at least one full backup!
Table of Contents
Where can you synchronize files and store backups?
Some people prefer to use cloud synchronization services such as iCloud, Dropbox, OneDrive or Backblaze. Cloud backup solutions are easy to use, but it often means that your data is stored elsewhere and controlled by someone else. Depending on your privacy tolerance, this might not be an acceptable solution. Other people prefer to synchronize and backup files on local or external drives such as a NAS or even a simple USB drive. This means that data is stored locally and you’re in full control of it.
We’ll look at two ways to synchronize a folder to a USB drive so that you can immediately have a working copy of your most important files.
How to sync files on Mac to a USB drive using Rsync?
macOS includes a free built-in utility called Rsync. You can run it from the Terminal application. Launch Terminal from the Applications folders then type:
rsync -aE --delete "/Users/your_username/src_folder" "/Volumes/usb_drivename/dst_folder"
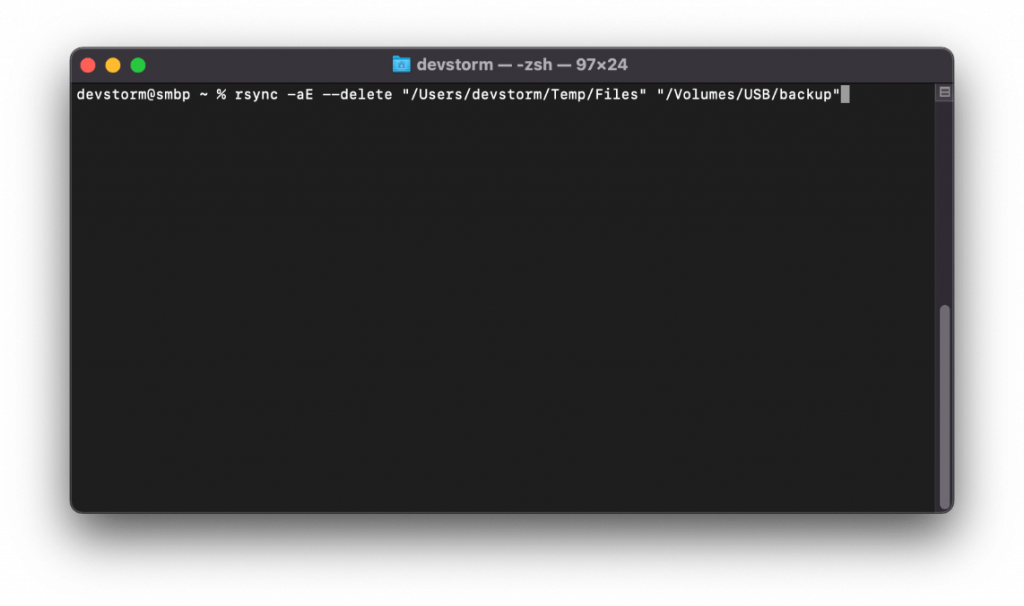
Let’s break down this command so you can understand what it means.
rsync is the name of the built-in utility.
-aE instructs rsync to copy metadata and preserve permissions.
--delete means it will remove all files in the destination folder that do not match the source folder. In other words, at the end of the process, both the source and destination folders will have matching contents.
"/Users/your_username/src_folder" represents the path to your source folder as stored on your drive. Replace your_username with the username you’re logged in with and src_folder with the folder you want to synchronize.
"/Volumes/usb_drivename/dst_folder" represents the path to your destination folder stored on a USB drive. Replace usb_drivename with the name of your USB drive and dst_folder with the folder you want to store the backup folder.
After changing the parameters as described above, simply press Enter/Return on your keyboard to execute the command and synchronize the two folders. If this is the first time you’re using the terminal to access that USB drive, you’ll be prompted to allow access:
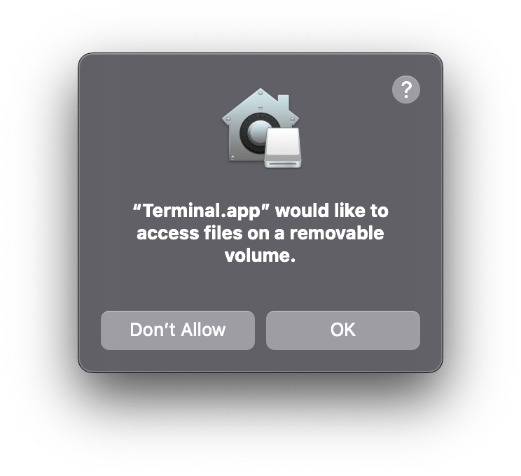
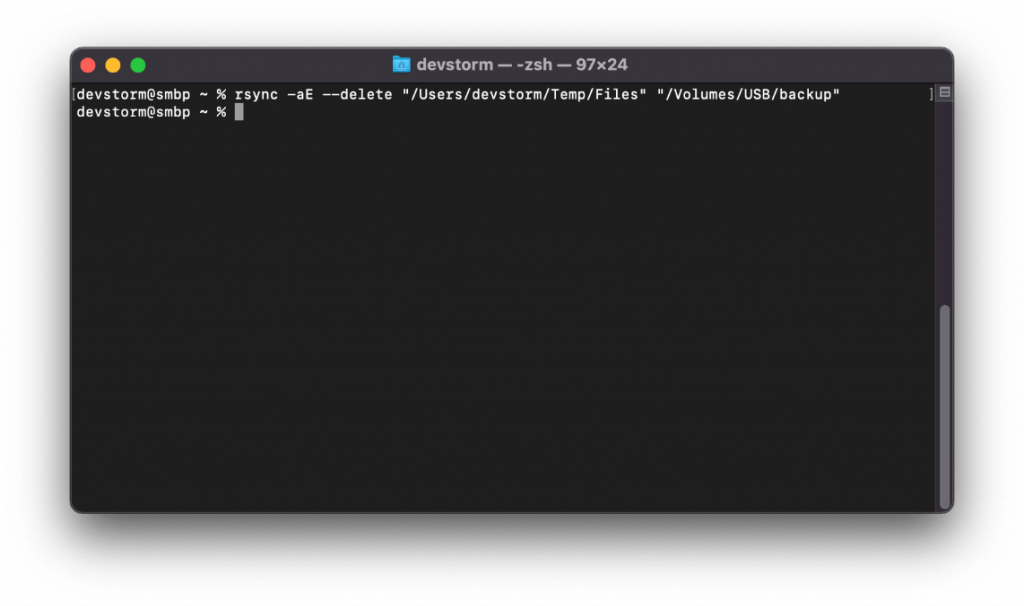
Click OK and rsync will start synchronizing the folders. Once it’s done you’ll see something like this:
While working with the Terminal might seem scary at first, you can make it easier by saving the command in a text document so that you can execute it later straight from Finder or DCommander.
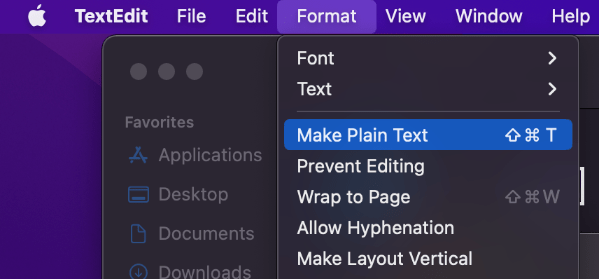
Open TextEdit from the Applications folder, select “Make Plain Text” from the Format menu in the top menubar, type the rsync command then choose File -> Save.
Uncheck the “If no extension is provided, use .txt” checkbox. For the filename type rsync.command and save it to your Desktop folder. At this point you’ve created the command file but due to lack of permissions, you won’t be able to execute it. To fix it, open the Terminal application again and type
chmod u+x ~/Desktop/rsync.command
Press enter on your keyboard and the rsync.command file can now be executed at any time by double-clicking on it.
Now you can double-click the rsync.command file and it’ll execute the rsync synchronization process between the two folders allowing you to sync files on Mac quickly.
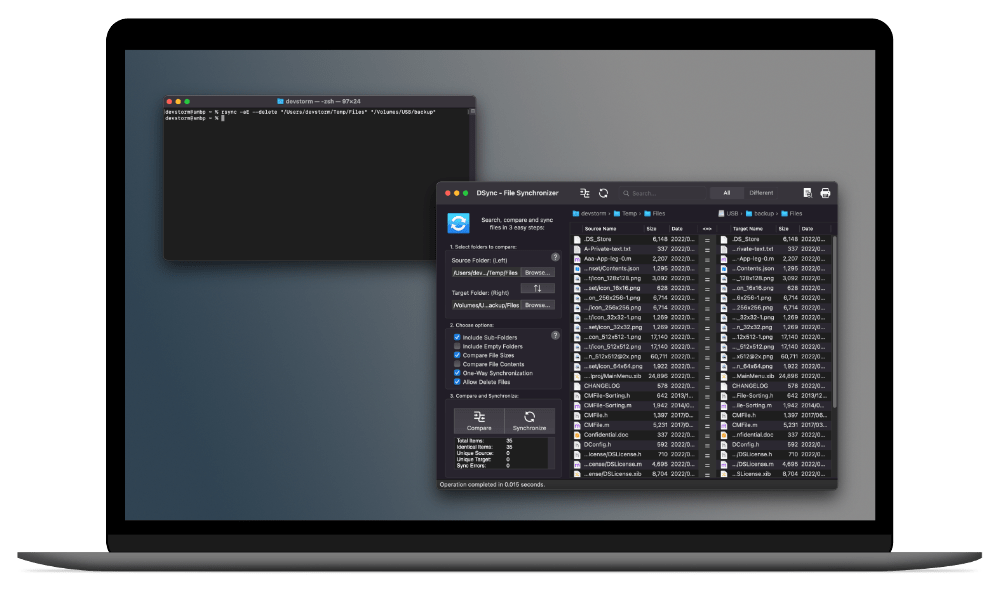
How to sync files on Mac to a USB drive using DSync?
Another way to synchronize files and folders is to use the DSync utility. Because it’s a graphical application, it’s much easier to perform the same task and you won’t have to use the Terminal to sync files on Mac. Additionally, it allows you to quickly fine-tune the synchronization process by filtering particular files.
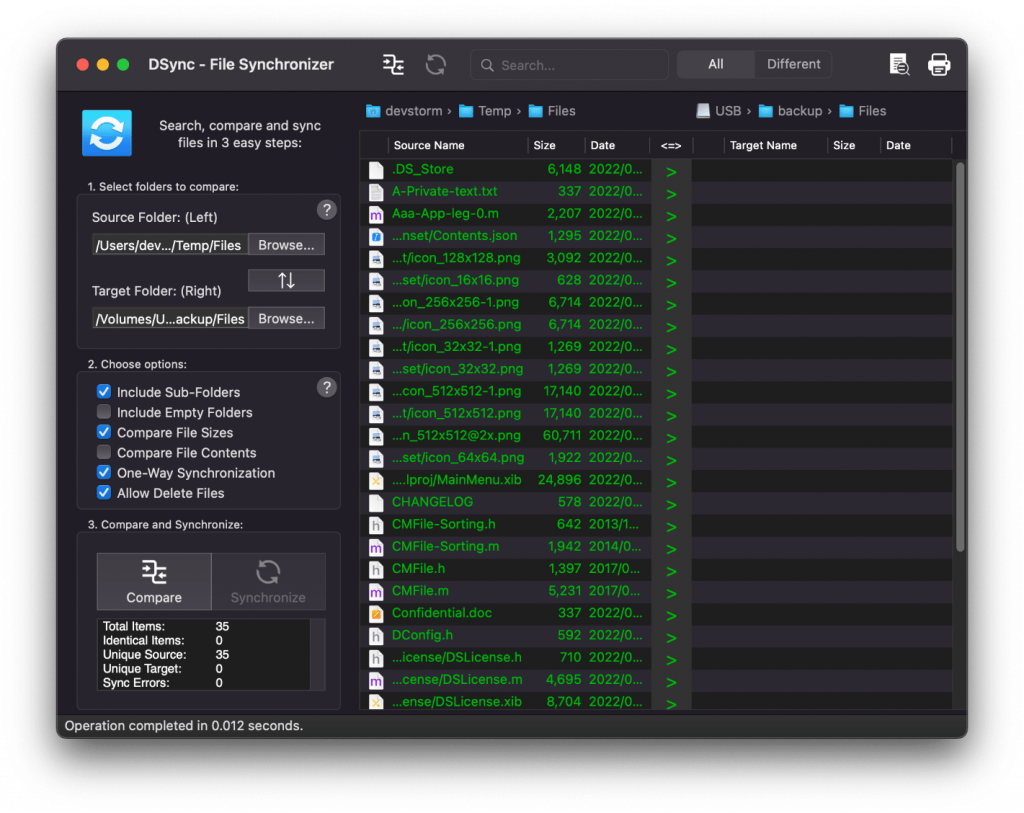
First you need to download and run DSync. After opening it, you’ll be greeted with an on-screen tutorial on how to use it.
Select the source folder, the destination folder, enable One-Way Synchronization and Allow Delete Files
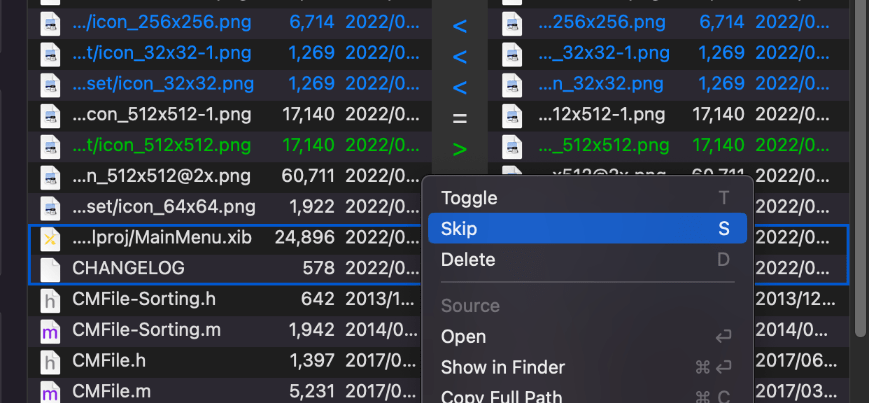
If needed, you can fine-tune the synchronization process by right-clicking on files and choosing different options.
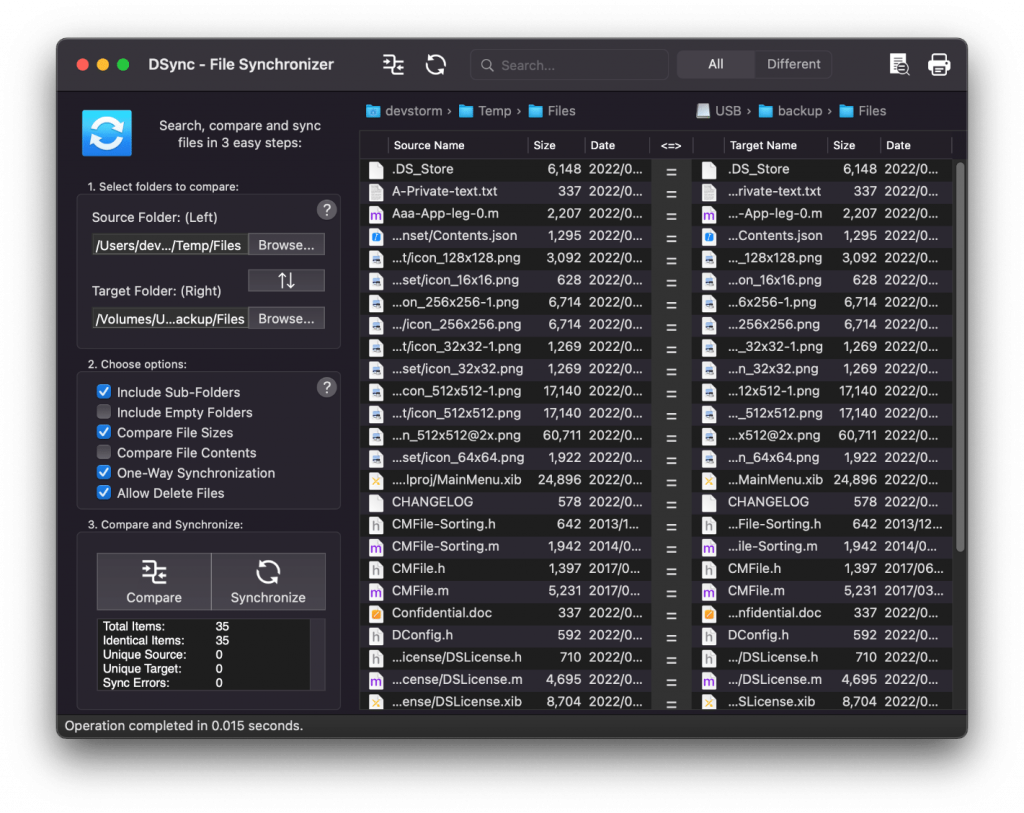
Once everything is as you want it, click on Synchronize. DSync will now perform the synchronization as specified. Once the folder sync is complete, you’ll see the (lack of) difference between the folders.
Conclusion
Synchronizing files is an important task that should not be delayed or postponed. Make it easy for yourself to sync files on mac like a pro by using the right tool.
Related Posts